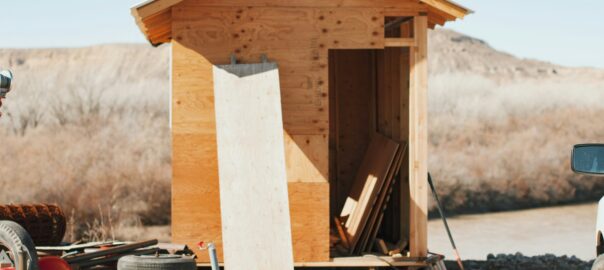
A solid concrete base is the foundation of a long-lasting shed.
Whether you’re installing a compact garden storage unit or a larger workshop, getting the base right will prevent issues such as damp, cracking, and uneven doors further down the line.
With careful preparation and attention to detail, laying a concrete shed base is a manageable DIY project that delivers professional results.
1. Choose the Right Location
Before any digging begins, consider where your shed will sit. The ground should be level, well-drained, and easily accessible. Avoid low-lying areas where water collects, as standing moisture can weaken the concrete over time and cause damp inside the shed. Leave enough space around the base for maintenance and airflow.
2. Measure Accurately
Your concrete base should be slightly larger than the shed itself—typically by around 50–75mm on all sides. This overhang helps keep rainwater away from the shed walls and reduces the risk of moisture ingress. Measure carefully and mark out the area using wooden pegs and string to ensure straight edges and right angles.
3. Prepare the Ground Properly
Excavate the marked area to a depth of around 150–200mm. Remove all turf, roots, and soft soil to create a stable sub-base. Compact the ground thoroughly using a tamper or plate compactor; this step is essential to prevent the concrete from sinking or cracking later.
4. Create a Strong Sub-Base
A well-compacted sub-base provides essential support. Add a layer of hardcore or MOT Type 1 to a depth of around 100mm, then compact it firmly. On top of this, add a layer of sharp sand to help level the surface. Take your time here—an even sub-base makes the concrete pour much easier and more accurate.
5. Install a Damp Proof Membrane
Laying a damp proof membrane (DPM) over the sub-base helps prevent moisture rising through the concrete. Overlap joints and ensure the membrane extends slightly beyond the edges. This extra protection can significantly increase the lifespan of both the base and the shed.
6. Build a Sturdy Formwork
Use treated timber boards to create a frame around the perimeter of the base. Secure the boards firmly with stakes to prevent movement when the concrete is poured. Check that the formwork is level on all sides, as this will determine the final height and flatness of the base.
7. Mix and Pour the Concrete Correctly
Use a strong concrete mix, typically one part cement to five parts ballast, or a ready-mixed alternative for convenience. Pour the concrete evenly into the formwork, starting at one corner and working your way across. Spread it with a shovel to eliminate air pockets and ensure full coverage.
8. Level and Finish the Surface
Once poured, use a straight timber batten to level the surface with a sawing motion across the top of the formwork. For a smooth finish, lightly trowel the surface, but avoid overworking it as this can weaken the top layer. A slightly textured finish can improve grip and drainage.
9. Allow Adequate Curing Time
Concrete needs time to cure properly. Leave the base untouched for at least 24–48 hours, and ideally wait a full week before placing the shed on top. In hot weather, lightly mist the surface with water to prevent it from drying too quickly and cracking.
10. Plan Ahead for Fixings
If your shed requires anchor bolts or fixings, plan their placement in advance. These can be installed while the concrete is still wet or drilled in once the base has fully cured. Proper anchoring ensures your shed stays secure, even in strong winds.
Laying a concrete base for a shed may take time and effort, but it’s an investment that pays off in durability and peace of mind.
By focusing on careful preparation, accurate levelling, and proper curing, you’ll create a base that keeps your shed stable, dry, and fit for purpose for many years to come.